Most of the people strive to use Android phones because of their unique features and functionalities. One of the topmost reasons why lots of people prefer Android devices rather than the iPhone is due to its third party features. Once you could not See Your Android Notifications on Windows 10.
For android devices, the third party features and options are always great. But Apple devices aren’t that great when it comes to the apps, features and more.
In general, the iPhones, ipads, and other Apple devices are all connected in a way that allows a smooth transition between devices. But, when it comes to Android, by default, you don’t find the feature.
The open nature of Android allows all the third-party apps and developers to add lots of functionalities to it. So, Google doesn’t include that type of feature. Now, as we’re striving to show your android notifications on windows 10, let’s check out how to do in this post.
Microsoft, one of the third-party developers of Android, has started using Android to attract people into their ecosystem by giving features.
Usually, you can see your Android notification on your Windows 10 PC with the phone companion. For creating that you need some requirements. Checkout those requirements in the Android Notifications on Windows 10 post.
How to see your Android Notifications on Windows 10:
Most of the people are striving to check out how to see your Android Notifications on Windows 10. If you’re one of them, then you can check out our post on how to see your Android notifications in windows 10.
To complete the companion between the Android Device and Windows 10 PC you should have two main requirements. Checkout the requirements below.
Requirements:
- You require a PC Running windows that have windows 10 April 2018 or later version.
- Along with PC, you should use an Android phone, which is running Android 7.0 Nougat or newer version than it.
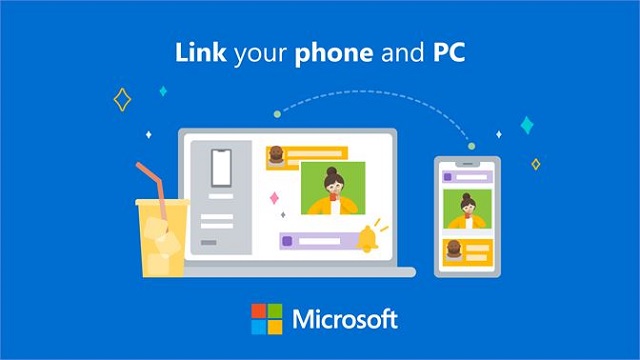
Firstly Install “Your Phone Companion” on your Android Device:
The first thing you have to do is install Microsoft’s “Your Phone Companion” app on your Android device. You can download this app on the official Google Play store, or even you can download it at Microsoft site.
Install “Your phone” on the PC:
After installing the “Your companion” app on your Android phone. You have installed “your phone” app on the windows 10.
If you’re running Windows 10 October version or newer, then all will be pre installing, so you don’t have to follow this step.
In case, if you are using an older version then head over to the Microsoft Store app on your PC. Select ” your Phone” from the list and click on the install option to install the software on your computer.
In case if you hadn’t signed in to your Microsoft account means you have created a Microsoft account to download the software.
- Microsoft Store Link: Your Phone (free)
After installing the app, you should open the app. Whenever you open the app, it will ask you for a mobile number. Although it isn’t necessary, but if you want Microsoft updates, then you should give that number.
Connect your Android phone to your Windows 10 PC:
- After connecting your Android phone, you have to open the app on your phone.
- Then select “Get Started” and click on “Continue” and quickly follow the prompts which are displayed on the screen.
- Make sure you give proper permissions to all the required prompts.
- If you have any trouble with your prompts, then go to the “Home Screen.”
- Open your App drawer and long press on the ” Phone Companion icon,” then select “App information” or the “i” icon.
- After clicking that — Next page, you have to select “Permissions” — Then you can enable one by one option such as “Storage,” “SMS,” and “Contacts,” etc.
Now, all you have to do is open the app once again after giving access.
- Click on the “OK” button. Then when the next prompt shows, you have to switch to your PC.
- Open your system, and then you’ll see a notification.
- “Allow the phone to connect to your phone” – Click on the Allow button.
- Now, you have completed connecting Android devices to your PC.
Enable Android Notifications on Windows 10:
At present, your phone is connected with your system. So, let’s enable Android notifications on your Windows 10.
- To do that, you have to select “Notifications” on your phone.
- Click on “Get Started” — Select ” Open Settings on the phone.”
- After that, you will receive a notification.
- Open that notification; then, your phone will be redirected to the “Main Notification access” Menu.
- Now, find the “Your Phone Companion” app in the list and enable the option.
- Then choose “Allow” and select the back button to return to the app.
- Click on “Open Settings on the phone” option on your Windows PC again.
- The Notification page will allow you to refresh and display all the notifications you receive.
Finally, Configure Alerts and Android Notifications on Windows 10:
As you have set up the Android phone and windows pc carefully. Now, you have to configure the alerts to optimize the experience.
- In the “Your Phone” app on your Windows PC, open the “Settings.”
- Now, scroll to the bottom of the page and see the available options.
- Then the main option you have to use is “Choose which apps notify you.”
- Then select the down arrow button and reveal the list of apps on the device.
- If you want to disable the notifications, you can toggle off the notifications from the “Your phone” app on a computer.
By following the above process you can find out how to see your Android notifications on Windows 10 PC.